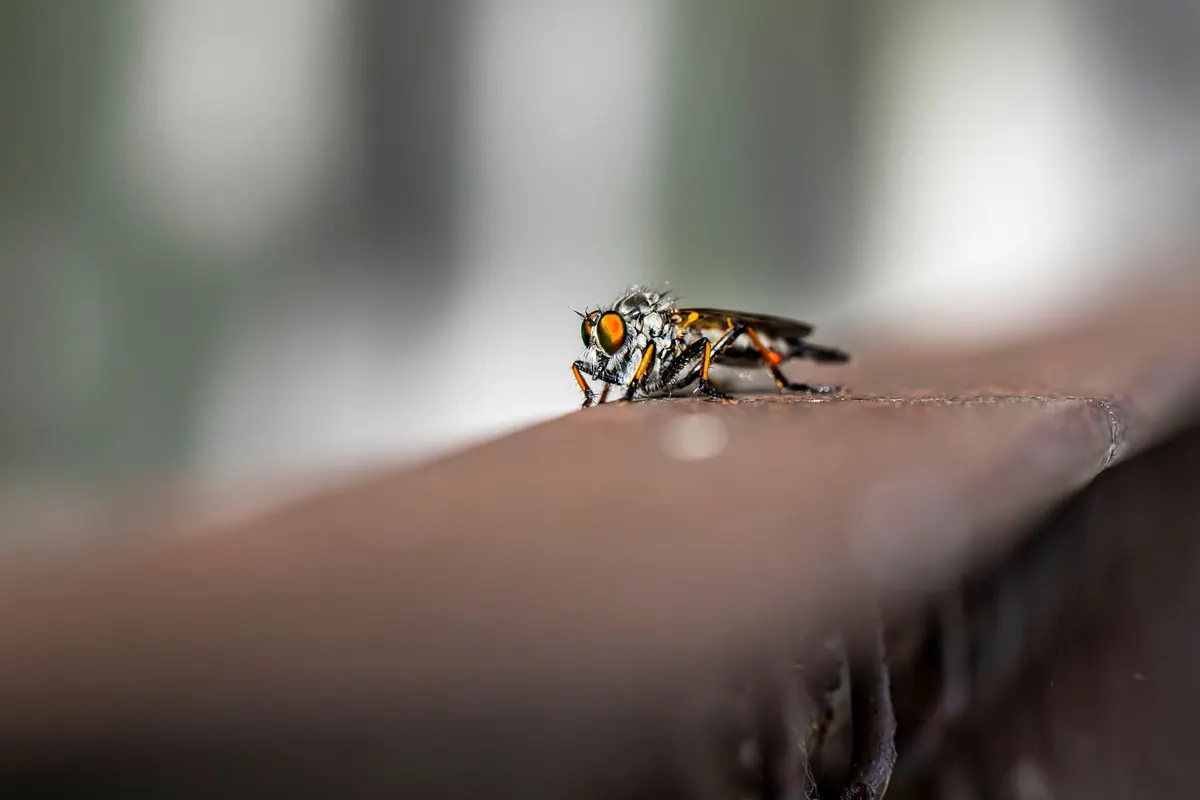
You spot the perfect subject: a dew-covered beetle on a grass stem, antennae cocked, compound eyes catching the early light. You frame it, focus on the eye, and fire. Then you check the back of the camera and sigh. The eye is sharp, the thorax is soft, and the far antenna is a blur. That is macro: at high magnification, depth of field collapses to a sliver measured in fractions of a millimetre. Focus stacking solves it, but only if the field craft is right. This is the workflow that works when the light is good, the wind is rising, and the insect will not wait for you.
What Focus Stacking Actually Requires
A stacked image is simply several frames, each focused on a different plane, blended together so only the sharpest parts of each survive. The software is the easy part. In the field you have to deliver three things: a still subject, a stationary camera, and a series of focus planes that overlap just enough.
For live insects, that means working to the subject's schedule, not your own. Cool mornings are your ally. Beetles, shieldbugs and resting dragonflies are sluggish at dawn and often stay put through an entire stack. Later in the day you are racing their metabolism. Butterflies with folded wings are far more cooperative than those basking open. If the insect is walking, grooming or twitching its antennae, save yourself the grief and either wait for it to settle or shoot a single frame at a wider aperture and accept the compromise.
Gear That Earns Its Place in the Bag
- A solid tripod that gets low. Ground-level work is the norm, so look for legs that splay flat and a head that lets you fine-tune without jerking.
- A macro rail if you plan to move the camera rather than the focus ring. It gives repeatable steps and keeps perspective constant.
- A lens with focus bracketing built in, or a camera body that offers it. This is the single biggest quality-of-life upgrade for field stacking.
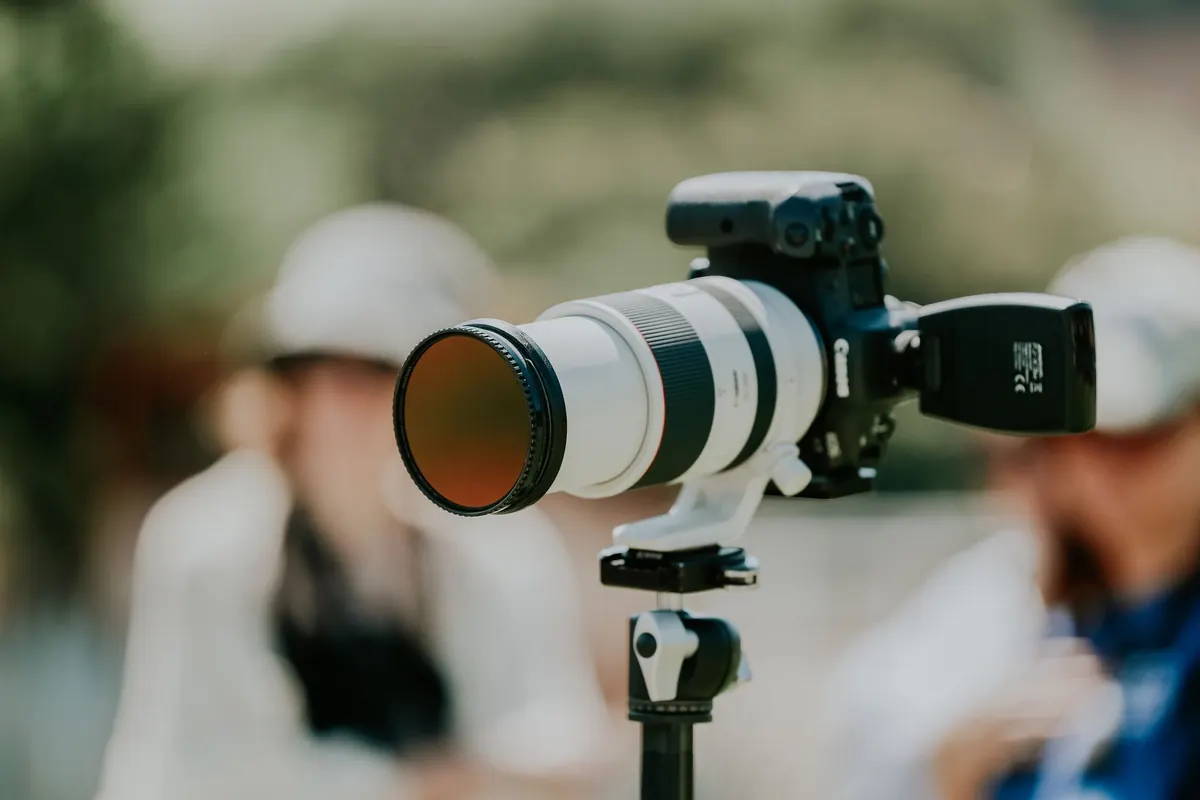
- A diffused flash on a bracket or arm, so light stays consistent across the whole sequence and you are not fighting a shifting sun.
- A small LED panel or a hand torch for finding focus in dim undergrowth.
Working distance matters more than you might expect. A longer macro lens, or a telephoto with extension tubes, keeps you far enough away that you are not casting a shadow over the subject or spooking it with your breath.
Setting Up Without Disturbing the Subject
Approach slowly and low. Place the tripod feet carefully, one at a time, then compose before you do anything else. Once the frame is set, check two things at your widest aperture: that the nearest point of interest, usually a front leg or antenna tip, is inside the frame, and that the farthest point, often a wingtip or rear leg, is too. If either sits outside the image, no amount of stacking will rescue it.
Now choose your aperture and step size. There is no universal number, because step size depends on magnification and aperture together. A practical rule is to set your first and last frames by eye, then use a step roughly a third of the depth of field at that magnification. In practice, at around 1:1 with a moderate aperture, steps of a millimetre or less on the rail are typical, and far finer as you push past 2:1. When in doubt, shoot more frames than you think you need. Extra frames cost card space; missed focus planes cost the shot.
Working With Flash and Ambient Light
Keep your flash power and position fixed for the entire sequence, and let the ambient exposure stay constant as well. Mixed lighting between frames produces colour shifts that show up as banding in the blend. If you are shooting in shade, a diffused flash gives you the shutter speed you need to freeze micro-vibrations from wind and from your own hand on the rail.
Shooting the Stack
- Focus on the nearest part of the insect you want sharp. Take one frame.
- Advance the rail, or turn the focus ring, by your chosen step. Take the next frame.
- Repeat, moving steadily toward the background, until the farthest point of the subject is sharp in the last frame.
- Add one or two frames past that point as insurance for the background.
- Review the sequence on the rear screen before you pack up, checking the first and last frames for coverage.
Use an electronic shutter or mirror lock-up with a short delay, and do not touch the lens or rail between frames beyond the step itself. If the insect moves mid-sequence, stop, refocus on the nearest point and start again. A stack with one spoiled frame is often still usable; a stack where the subject walked away is not.
Stacking and Finishing at the Desk
Import the frames in order and let your stacking software align them. Small movements between frames are normal, and alignment handles them. Try two rendering methods if your software offers them: a detail-preserving one for texture and a smoother one for cleaner edges, then combine the best of both.
Expect artifacts. Fine hairs and antennae against bright backgrounds are where halos appear, and overlapping legs confuse the depth map. Use the retouching tools to paint in frames from the original sequence where the blend went wrong, usually the frame where that specific part was sharp. Then clean up dust spots, which are brutally visible in macro, apply mild sharpening, and finish with a gentle contrast curve. Avoid heavy noise reduction, which turns insect sculpting into plastic.
Practical Habits That Save Stacks
Practice the whole sequence on a stationary subject first: a coin, a dead beetle, a flower centre. Learn your step size and your software before you are crouched in wet grass with a mayfly. In the field, work in the cool hours, bracket generously, and accept that a percentage of your subjects simply will not cooperate. When one does, the payoff is an image where every hair, facet and wing vein stands sharp from front to back, and that is worth the patience.
Photo: Erik Karits / Pexels