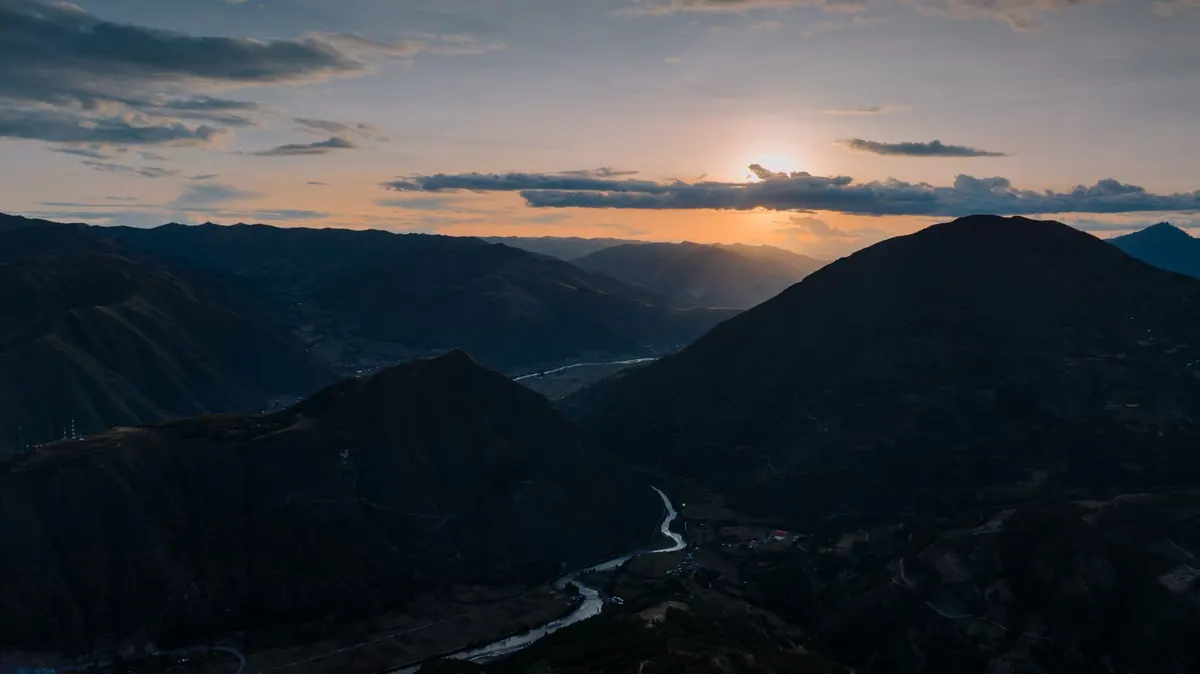
You stand at the edge of a lake at sunrise. Mist moves over the water, the light is pink, the whole scene feels like a gift. You get home, open the file, and it is flat: grey water, a blown sky, a horizon that leans to the right. The place was extraordinary. The photograph is not.
That gap between what you saw and what the camera recorded comes down to a short list of repeatable mistakes. Almost none of them call for new gear. Here are the ones I see most often, and the habits that fix them.
Start With the Horizon and the Edges
A tilted horizon is the fastest way to make a careful image look careless, and it is easy to miss on a small screen, especially when the land itself slopes downhill. Turn on the grid display. If you are working from a tripod, use the bubble level, and find the virtual horizon setting on your camera before you actually need it.
Then walk your eye around the frame edge. Watch for a bright patch of sky or a reflective rock pulling attention into a corner, a stray branch or fence post intruding on one side, and your own shadow, tripod leg or camera bag sitting in the shot. Most of these take five seconds to fix by shifting one step sideways.
Build Depth Instead of Recording a View
Lots of flat landscape photographs share one cause: everything in the frame sits at the same distance. The mountains are far away, the field is far away, the sky is far away. There is nothing for the eye to travel through.
Look for something close. A few stones, a curve of grass, a wet rock, a fallen branch. Get low — sometimes down to knee height or lower — and let that foreground element anchor the bottom of the frame. A wide lens helps, but moving your feet helps more. Two steps forward or a foot to the left often changes the picture more than a lens swap.
Here is a quick test. Cover the bottom third of your composition with your hand. If nothing is lost, that part of the frame is not doing any work yet.
Expose for the Brightest Thing That Matters
Cameras average. Point one at a bright sky above dark ground and it tries to make both middle grey, which usually means a washed-out sky and shadows lifted into mud. Highlights are the fragile part. Once a cloud is pure white, there is nothing left in the file to bring back.
So expose for the brightest area you want to keep detail in. In practice:
- Read the histogram instead of the rear screen, which lies in bright outdoor light. You want the graph to touch the right edge without piling up against it.
- Use exposure compensation, and know which dial controls it. Two-thirds of a stop under is a common starting point for a bright sky.
- Bracket three or five frames a stop apart when the range is extreme, then blend them later if you enjoy editing.
- Reach for a graduated neutral density filter, in camera or in software, when the sky is a hard band of light.
Shooting raw gives you room to lift shadows afterwards. It will not rescue a blown sky, so get the highlight right in the field.
Shoot the Light, Not the Location
The most common timing error is treating landscape photography as a daytime activity. Between mid-morning and mid-afternoon, light falls from high overhead, shadows go flat, colour drains out of the scene and the sky turns a thin, pale blue. Even a famous viewpoint looks ordinary then.
The hours either side of sunrise and sunset do the heavy lifting. So does weather. A storm breaking over a ridge, fog sitting in a valley, or cloud softening a harsh scene can be worth more than a cloudless golden hour. Check the forecast, then go anyway when it looks unsettled — and expect to be skunked sometimes. That is part of it.
Arrive early, so you have time to walk, look and set up before the light lands. Then stay twenty minutes after the colour has gone. The afterglow often outperforms the sunset itself.
Decide What the Photograph Is About
Too many frames try to include everything: the waterfall, the cliff behind it, the car park, the sign. The result is busy and forgettable, because the viewer has nowhere to look first.
Before you press the shutter, answer a silent question. What is this picture about? The curve of the river. The lone tree. The way the fog sits in the valley. Then remove whatever competes with that answer. Zoom in, crop with your feet, or switch to a longer lens and compress the scene. One clear idea beats four faint ones.
Watch the Quiet Technical Details
Sharpness problems in landscape work are rarely about the lens. They are usually about technique.
- Aperture: most lenses are sharpest around f/8 to f/11. Stopping down to f/22 for "maximum depth of field" softens the whole frame through diffraction.
- Stability: use a tripod, switch image stabilisation off when it is mounted, and fire with a remote release or the two-second timer.
- Focus: in live view, magnify the image and focus manually a third of the way into the scene, or on the element you most want crisp.
- ISO and shutter: keep ISO at your camera's base setting when the tripod allows, and slow the shutter down for moving water or wind-blown grass.
Carry a lens cloth, keep a spare battery warm in cold weather, and check that your hood is not casting a shadow at wide angles.
A Simple Field Routine
None of this has to happen all at once. Try this sequence on your next outing and it will soon feel automatic.
- Walk the scene for five minutes before setting anything up.
- Choose one idea for the photograph and one strong foreground.
- Level the camera, check the edges, tidy the frame.
- Set aperture, ISO and focus, then read the histogram.
- Shoot it, look again, and move two steps to see whether it improves.
The photographers whose work you admire are not getting better light than you. They are usually standing in the right place at the right time with a tidier frame. Fix the small things, stay patient with the weather, and your landscapes will start to look like the scene you remember.
Photo: K / Pexels