A drop of water sitting on a leaf is a lens. It is small, slightly wobbly, and completely indifferent to how much your camera cost — but if you put a flower in the right place behind it, that drop will show you the flower upside down and surprisingly sharp. This is one of the few corners of photography you can explore properly on a rainy afternoon with a kitchen table, a dropper and a sheet of glass.
What you actually need
Refraction macro is forgiving on gear. It is not forgiving on light and patience. Gather this much first:
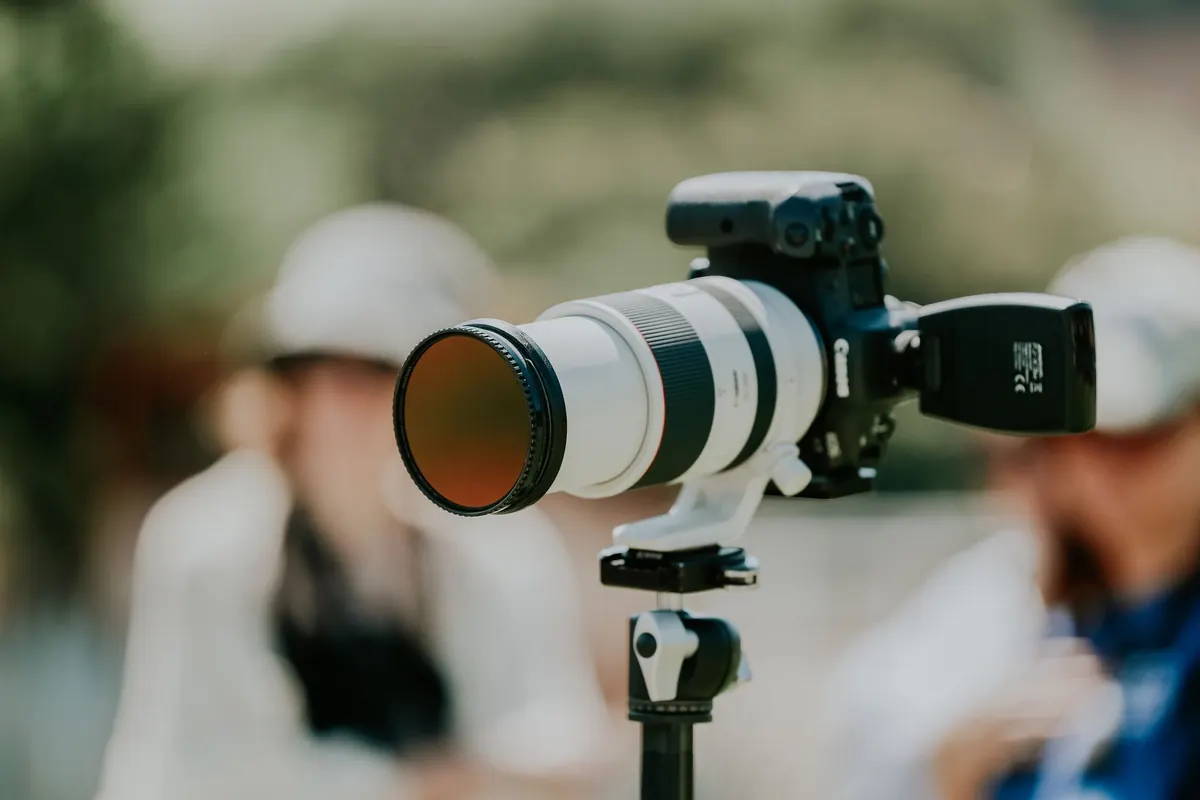
- A camera with manual focus that can focus close — a macro lens, a set of extension tubes, or a screw-on close-up filter. Tubes behind a 50mm lens are a cheap way in.
- A tripod, or a beanbag, a stack of books and a table that does not wobble.
- A dropper or a plastic syringe (pharmacy ones without needles work well) so you can place one controlled drop rather than a puddle.
- A flat stage: a pane of glass from a cheap picture frame, a mirror, a black chopping board, or the shiny side of an old CD.
- Something to refract: a cut flower, a printed photo, a sheet of patterned wrapping paper, a phone screen.
- A flash you can fire off-camera, plus diffusion — tracing paper, a sheet of white paper, or a cut-up plastic milk bottle.
- Kitchen roll. Water goes everywhere.
Work on a tray, and keep anything electrical well away from the splash zone. It is a small precaution that saves a large problem.
Building the scene in fifteen minutes
Put the glass flat on the table, raised on two books so you have space underneath if you want to try a background below rather than behind. Prop your background vertically a short distance behind the glass. Place a single drop with the syringe, touching the tip to the surface and letting the water release on its own — squeezing produces a splash and a splatter of tiny satellite drops you did not ask for.
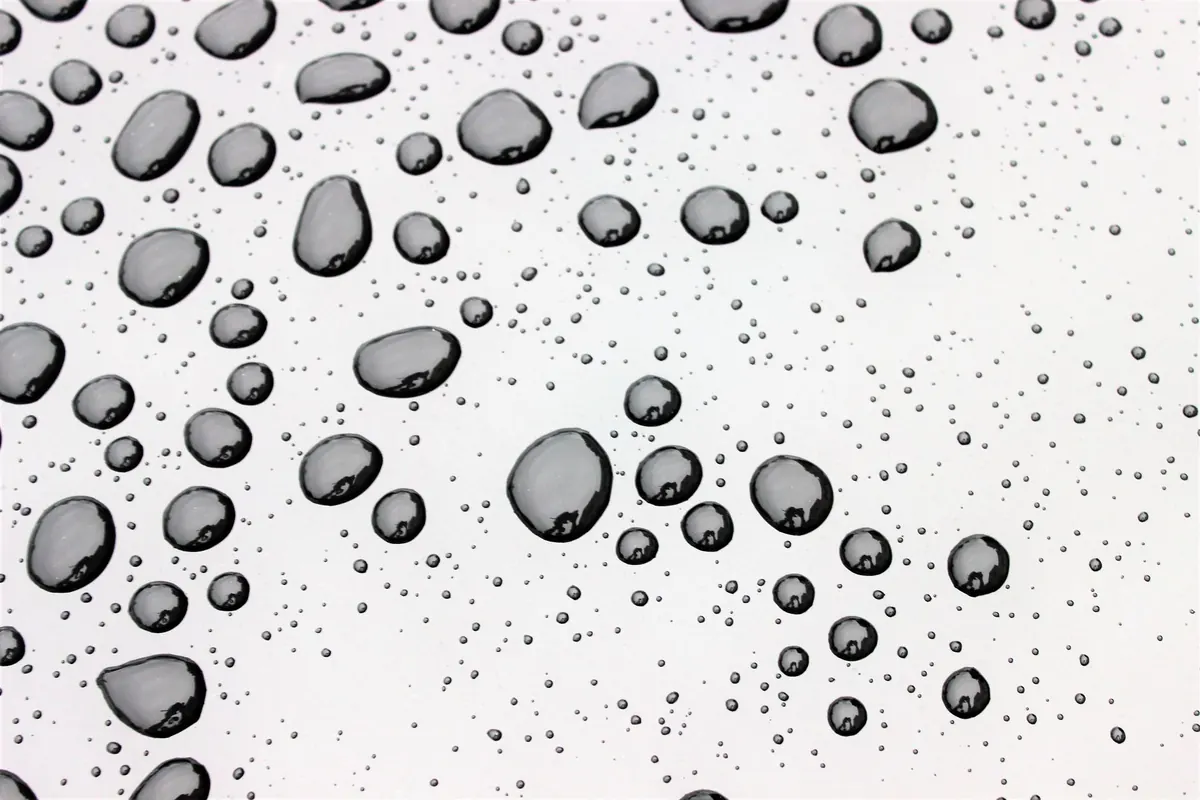
Water on glass spreads into a flattened dome. If you want rounder, more ball-like drops, use a leaf instead: many houseplant leaves shed water naturally, and a drop sits tall on them. Got a bottle of glycerin from the pharmacy? A few drops stirred into a small cup of water slows evaporation and holds the shape longer. Plain tap water is fine otherwise; just work briskly.
Where the background goes
This is the part beginners skip, and it is the whole picture. A droplet behaves like an extremely short focal length lens, so it only sees things close to it. Slide the background from far away towards the glass and watch the live view: at some point the flower snaps into focus inside the drop, then falls out of focus again as you keep going. A drop a few millimetres across wants the background somewhere around five to fifteen centimetres behind it. Smaller drops want it closer.
Two things to remember once you find that sweet spot. The image inside the drop is upside down and reversed left to right, so turn the flower over or flip the print if the orientation matters. And because the drop gathers light from a wide angle, bold, simple, high-contrast backgrounds survive the squeeze. A busy background collapses into grey mud.
Focus when depth of field is paper-thin
Switch to manual focus and use live view with magnification. At macro distances, autofocus hunts and drifts. Once you are magnified, do not turn the focus ring to find sharpness — move the camera. Nudge the tripod, slide the book stack, or use a focus rail if you have one. It sounds fussy; it is actually faster.
Aperture and stability
Start around f/8 to f/11. Small apertures buy depth of field but soften the whole frame through diffraction, and on smaller sensors the damage arrives earlier, so f/16 is usually as far as you want to go. Trigger the shutter with a two-second timer or a remote release, and use live view on a DSLR to keep the mirror out of the way. Even your own breathing moves the frame at this magnification.
Focus stacking, briefly
If you line up three drops in a row, no single frame will hold all three. Take five to fifteen shots, nudging focus forward a fraction each time, then combine them in stacking software. It works, but for a first session, one drop, one frame and one clean result teaches you more.
Light: small subject, small light
A bare flash pointed at a droplet leaves one hard pinpoint highlight and a lot of black. Put tracing paper or a milk-bottle diffuser between the flash and the subject, bring the flash in close at low power — around 1/16 — and hold it slightly above and behind. The bright rim that appears where the drop curves away is what makes water look like water. Window light works too, with a white card on the opposite side to bounce a little back in. Study the highlight in the drop: its size and position tell the viewer exactly where your light was.
Backgrounds you already own
A supermarket bouquet, one bright flower pulled out of it. A printed photograph of autumn leaves. A tablet showing a colourful image at full brightness. A sheet of coloured card with a fern frond in front of it. Patterned wrapping paper turned into a kaleidoscope of colour inside a row of drops. Once you understand that every droplet is a tiny camera pointing backwards, you start seeing backgrounds everywhere in the house.
When the shot looks wrong
- Grey blob instead of an image: the background is too dark or too far away. Move it in, brighten it, or both.
- Nothing is sharp: vibration, usually. Timer, remote release, and check that nothing is resting on the table that can shake it.
- Drops keep vanishing: they are evaporating. Mist the glass, add glycerin to the water, or simply re-drop every few frames.
- Shadow across the drop: you are standing between the light and the subject. Stay behind the camera, or move the light.
Practice with one drop
Set a twenty-minute limit and change only one variable at a time. One drop, one background, one light. Shoot a frame, move the background a centimetre, shoot again, and look at what happened rather than checking the back of the camera approvingly. When you get one image where the flower sits crisply upside down inside the water, you have learned the mechanic. Then try five drops in a diagonal line, or a leaf instead of glass, or a CD underneath so the rainbow surface bleeds into the shot. The setup costs nothing to change, which is exactly what makes it worth practising.
Photo: Benhur Emmanuel / Pexels