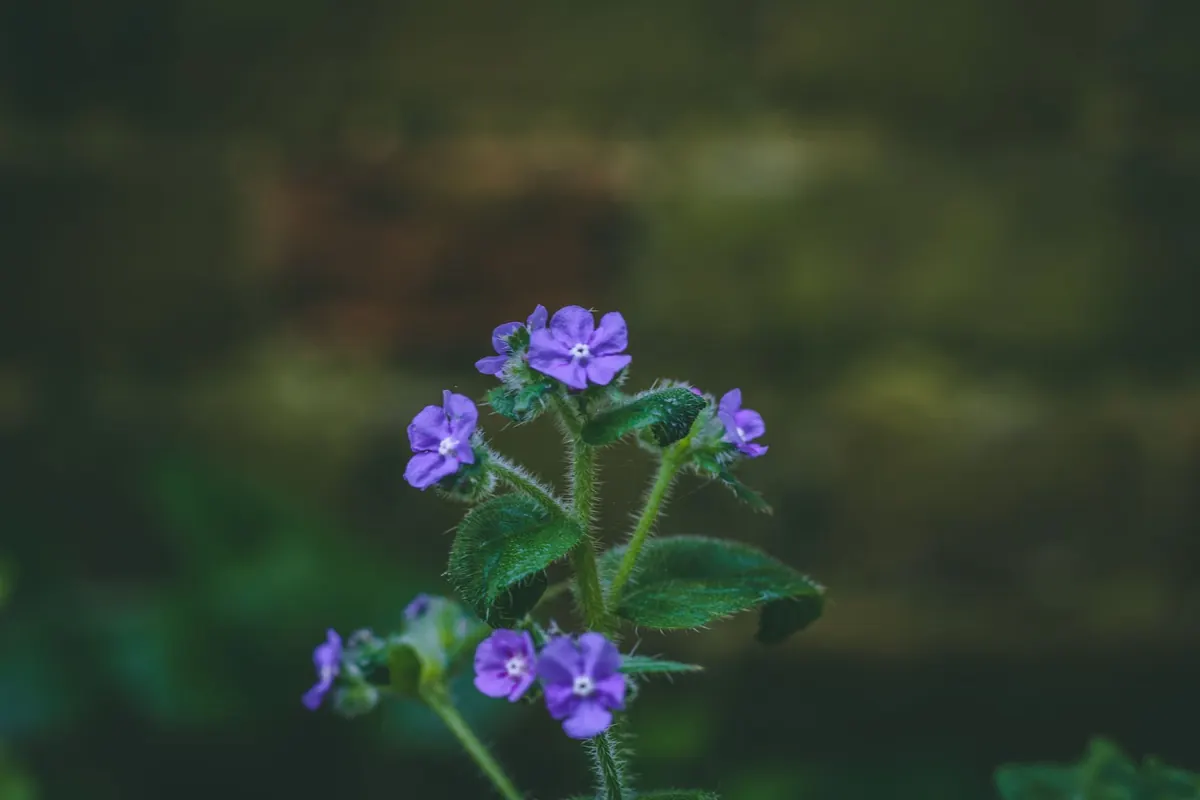
A single oxeye daisy can fill a frame with more detail than a mountain range. That is the quiet appeal of photographing wildflowers up close: the spiral of seeds inside a poppy pod, the fine veins running through a harebell, the pale fuzz on a bee as it works a knapweed. You do not need a rare species or a famous meadow. You need soft light, patience, and a lens that focuses close. Everything below is the working method that turns a slow walk along a hedgerow into a set of images worth keeping.
Start With the Right Lens
"Macro" is a measurement, not a marketing word. A true macro lens reaches 1:1 magnification, which means the subject is rendered life-size on the sensor. Plenty of zoom lenses carry a "macro" badge and reach only 1:3 or 1:4. Check the magnification figure in the specifications before you buy.
For wildflowers, three focal lengths do most of the work:
- Around 60mm. Light, compact, and handy when you are wedged between bushes. The downside is a short working distance — the lens sits close enough to shade the flower and to bump into stems.
- Around 100mm. The practical all-rounder. Enough distance to keep your shadow out of the frame, and still fast enough for insects that wander into your composition.
- 150–180mm. Long working distance for skittish subjects and inaccessible plants. Heavier, more expensive, and harder to handhold steady.
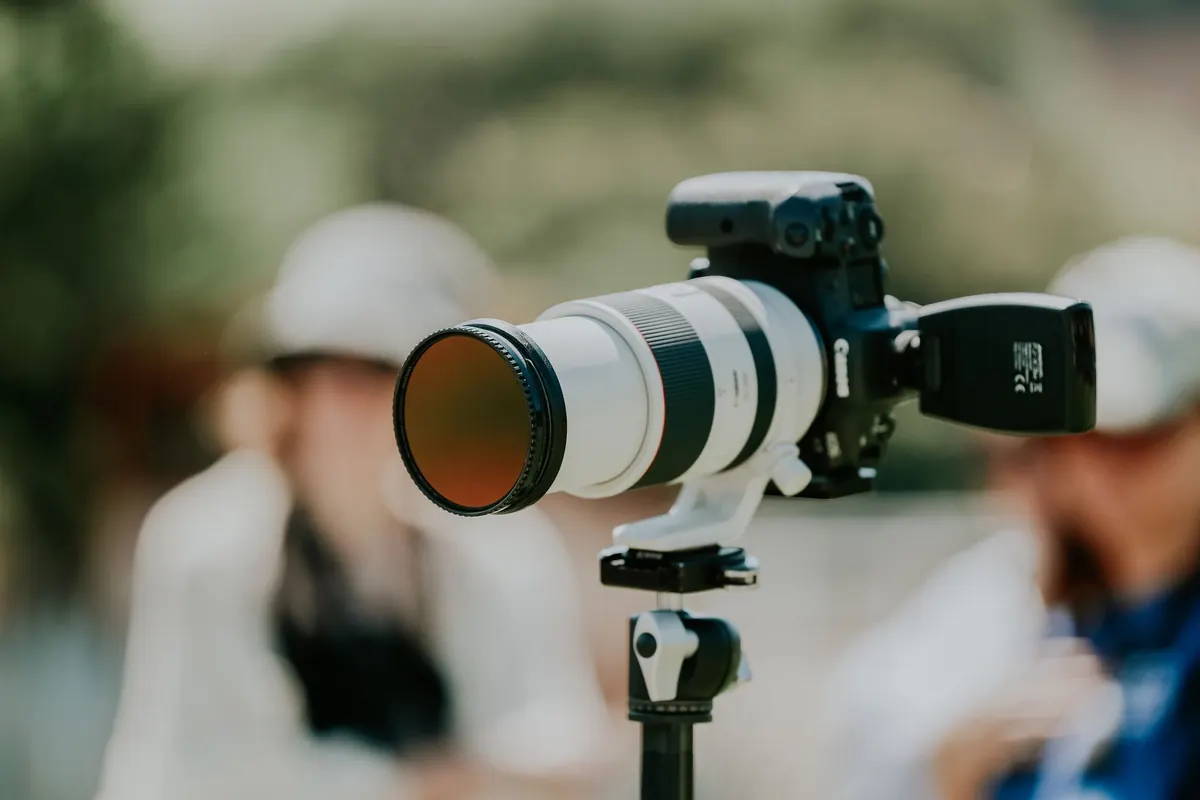
If a dedicated macro lens is not in the budget, there are two honest alternatives. Extension tubes sit between camera and lens and increase magnification by moving the optics further from the sensor; you lose infinity focus and a little light, but autofocus and metering still work. Screw-on close-up filters cost less, weigh almost nothing, and add a modest amount of magnification. Both are real tools, not toys.
Focus Is the Whole Game
At 1:1, depth of field is measured in millimetres. At f/8 you may have a sharp zone only a few millimetres deep, which is less than the thickness of a single bloom. That is why so many close-up wildflower shots look almost right — a petal edge crisp, the stamens dissolving into fog.
A few habits fix most of it. Switch to live view, zoom in on the part that matters, and focus there — usually the nearest petal edge, the stamens, or the centre of the flower. Then stop turning the focus ring. Instead, set the magnification you want and rock gently forward and back from the hips until the subject snaps into focus. It feels awkward for the first ten minutes and natural after an hour.
Set the aperture to f/8 or f/11 for a little more depth. Go beyond f/16 only if you must, because diffraction starts to soften the whole frame. Where the flower has a flat, open face — a daisy, a buttercup, a poppy — line that face up parallel to the sensor and one frame will usually do. For deep trumpets and layered blooms, try focus stacking: take five to fifteen frames, nudging focus slightly further into the flower each time, then blend them later in software.
Diffuse the Light Before You Worry About Anything Else
Direct midday sun makes wildflower portraits look cheap. Highlights blow out, shadows go black, and the colours lose their richness. The fix is not a better camera; it is a piece of translucent material held between sun and flower.
A purpose-made diffuser on a flexible arm is the tidy option, but a white shower curtain or a sheet of baking parchment stretched on a wire frame works just as well. Hold it 15–30 cm above the bloom and watch the highlights settle down. A small white card on the shadow side will lift the darkness without flattening the light completely.
Overcast days are a free softbox, and the air is often calmer. Backlight is worth chasing too: with the sun behind the flower, thin petals glow and their veins become visible. Shade the front of the lens with your hand to avoid flare, and expose for the bright edges rather than the shaded centre.
A wildflower photograph is really two pictures — the flower, and everything behind it. Most beginners spend all their attention on the first.
Build a Background You Can Live With
Aperture gets blamed for busy backgrounds, but distance matters more. Move your feet. A blade of grass half a metre behind the flower will blur into a soft smudge, while the same blade three metres back may still read as a hard line through your composition.
Get low. Shooting at flower height turns the background into sky, distant foliage, or a wash of colour instead of tangled stems. Look at all four corners of the frame before you press the shutter — one bright twig in the corner is enough to spoil an otherwise good image.
Colour is a design decision. Deep green shade sets off a pale flower; a blue sky behind an orange poppy is nearly impossible to ruin. Mid-distance twiggy branches, on the other hand, create the harsh, nervous bokeh that makes close-ups feel cluttered. Change your angle by half a metre rather than pulling or rearranging plants, and never trample a patch to reach one bloom. Stay on paths, take nothing, and leave the ground as you found it.
Field Craft: Timing, Wind and Comfort
Early morning is the best hour for this work. The air is still, the light is gentle, and dew adds detail. As the day warms, thermals pick up and every stem starts to sway.
When the wind will not cooperate, options are limited but real: brace the stem gently with a small clamp or a forked stick, wait for the lull between gusts, or shoot a short burst and keep the sharpest frame. A kneeling pad saves your knees and keeps you out of wet grass. Work a subject properly — twenty or thirty frames from different angles and apertures — then move on rather than shooting one frame and drifting.
A Simple Field Workflow
- Survey the area before you open the bag, and choose a plant with clean surroundings.
- Check the light. If the sun is hard, shade the flower first.
- Drop to flower height and start at f/8.
- Switch to live view, go manual, and magnify the critical detail.
- Fine-tune focus by moving your body, not the focus ring.
- Scan the frame edges and the background for distractions.
- Add focus-stack frames if the flower is deep.
- Review at 100% on the back screen before you walk away.
Practice That Actually Helps
Pick one species and photograph it ten different ways — front-lit, backlit, at three apertures, from above and from the side. Do the same with a single bloom over a few weeks and watch how it opens and fades. The point is not to produce ten keepers. It is to learn how your lens behaves at close range, so that when a real subject appears the technique is already in your hands. Take your time, shoot less, and let the flower tell you where to stand.
Photo: Connor Danylenko / Pexels